Are you tired of dragging out the hose to water? Not to worry, with our DIY Vegetable Garden Drip Irrigation it’s a once tough process made easy!
The importance of VEGETABLE garden drip irrigation
The importance of drip irrigation for your vegetable garden depends a lot on what type of plants you are growing. Many vegetables do not like overhead watering and it can actually cause more disease, as well as it can also burn the leaves of your plants if watered within the heat of the day. Many times with overhead watering verses drip irrigation, it will also use more water instead of only putting water where it is needed.
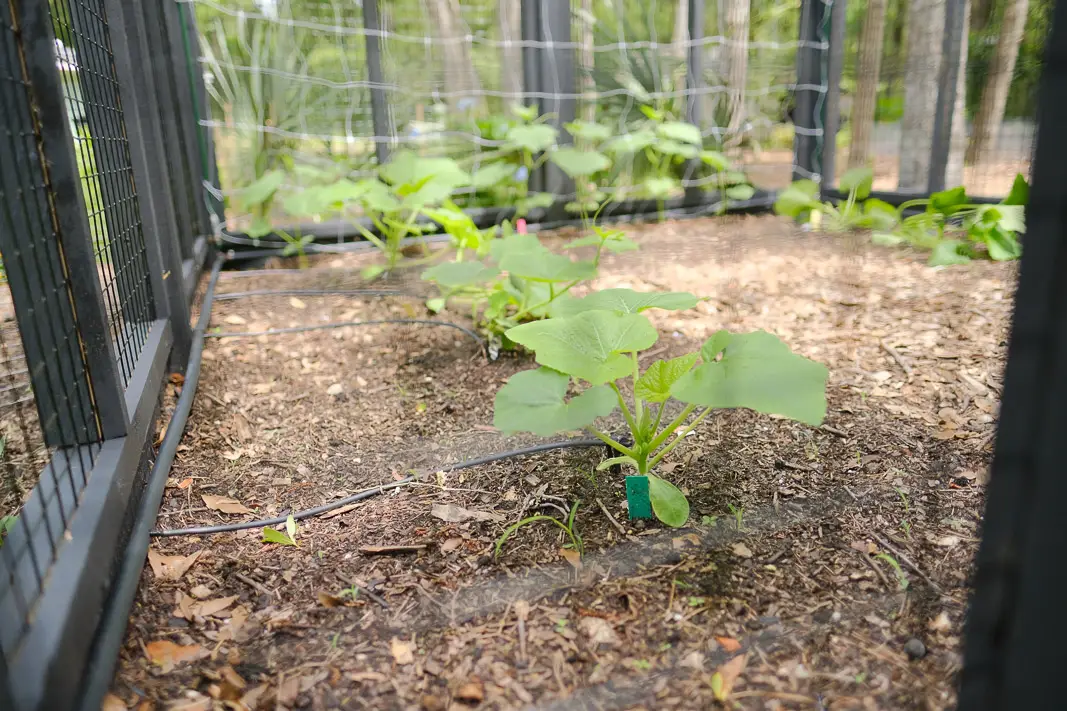
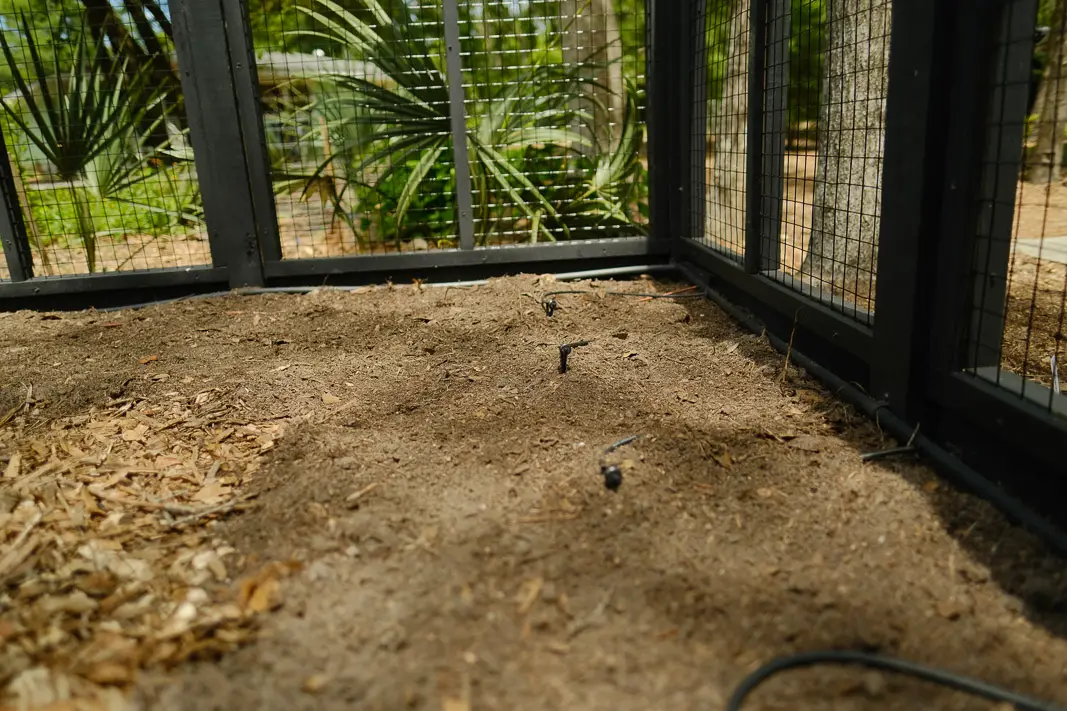
Companies nowadays have created drip irrigation to be super user friendly!
A once chore of a project has now turned into a DIY Vegetable Garden Drip Irrigation project made easy!
Not only is this an easy diy project, it will add up to be a cost savings of water which makes it very worthwhile to install a simple system like this DIY vegetable garden drip irrigation.
list of parts needed:
- 1/2 Inch Universal Hose to Faucet Adapter
- Universal Barbed Elbow Fitting
- 1/2″ Drip Tubing End Closure
- 1/2″ Barbed Valve, Male x Male
- 1/2″ Blank Distribution Tubing, 100
- 1/4″ Barbed Coupling Fitting
- 1/4″ Tubing, 6″ Emitter Spacing
- Irrigation Support Stakes for 1/4-Inch Drip Tubing
- All-in-One Drip Irrigation Punch Tool
- Dripper Emitter
- 1/4″ Tubing Black, 50′ Coil
how to get started:
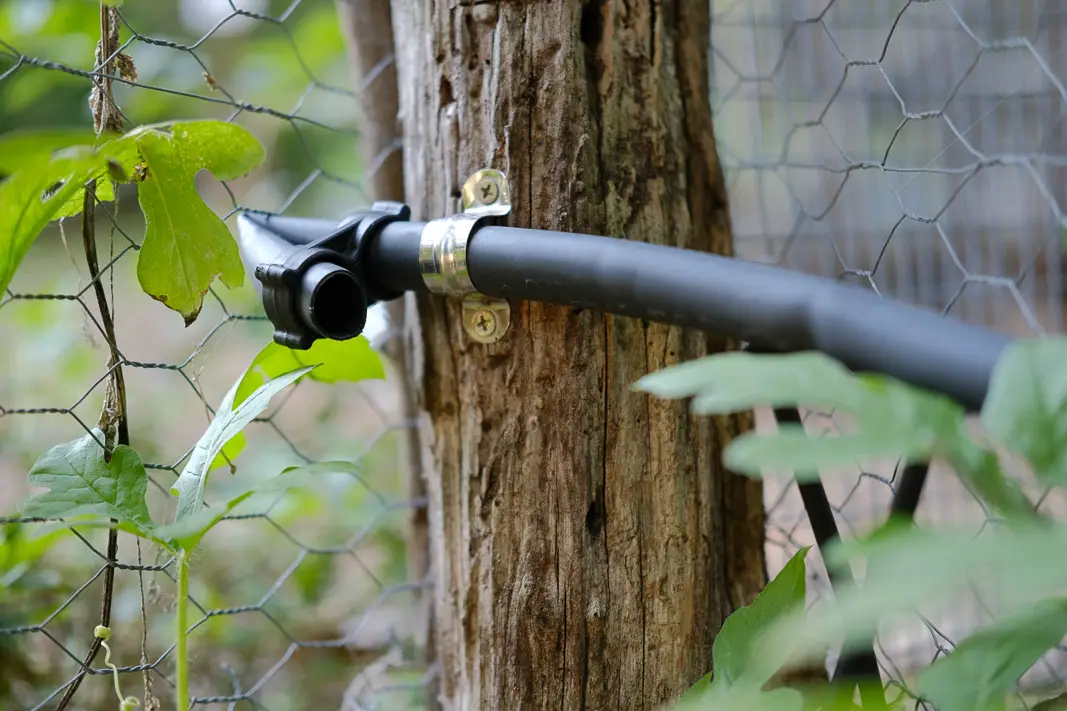
To get started first find your water supply preferably a faucet near your garden. From the garden hose faucet use the 1/2 inch hose to faucet adapter to attach the 1/2″ tubing, this is what will supply the water to the garden and all your emitters. You will use this supply tubing as a way to get water to all spots of the garden, therefor you will want it close to plants, but not right up against them.
We used 1/2″ conduit clamps to screw the tubing to our DIY custom vegetable garden fence; so season after season it would be ready for us, yet be out of the way when getting soil ready and planting.
If you’d like to Read our DIY CUSTOM VEGETABLE GARDEN FENCE; BLACK COTTAGE DESIGN BLOG CLICK HERE.
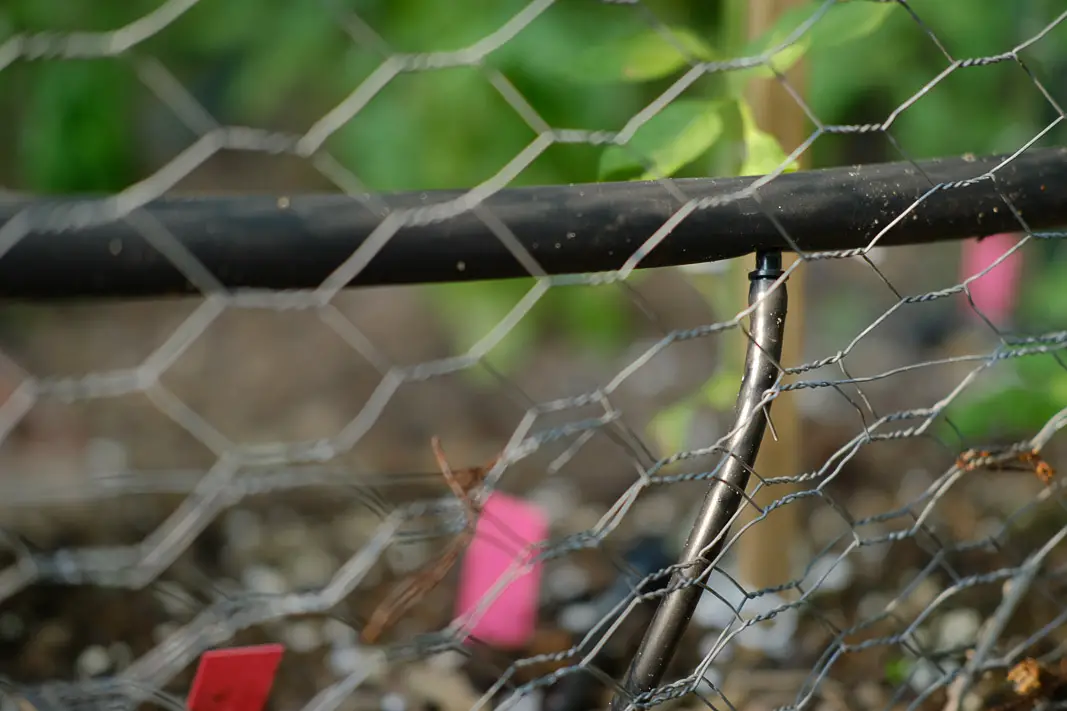
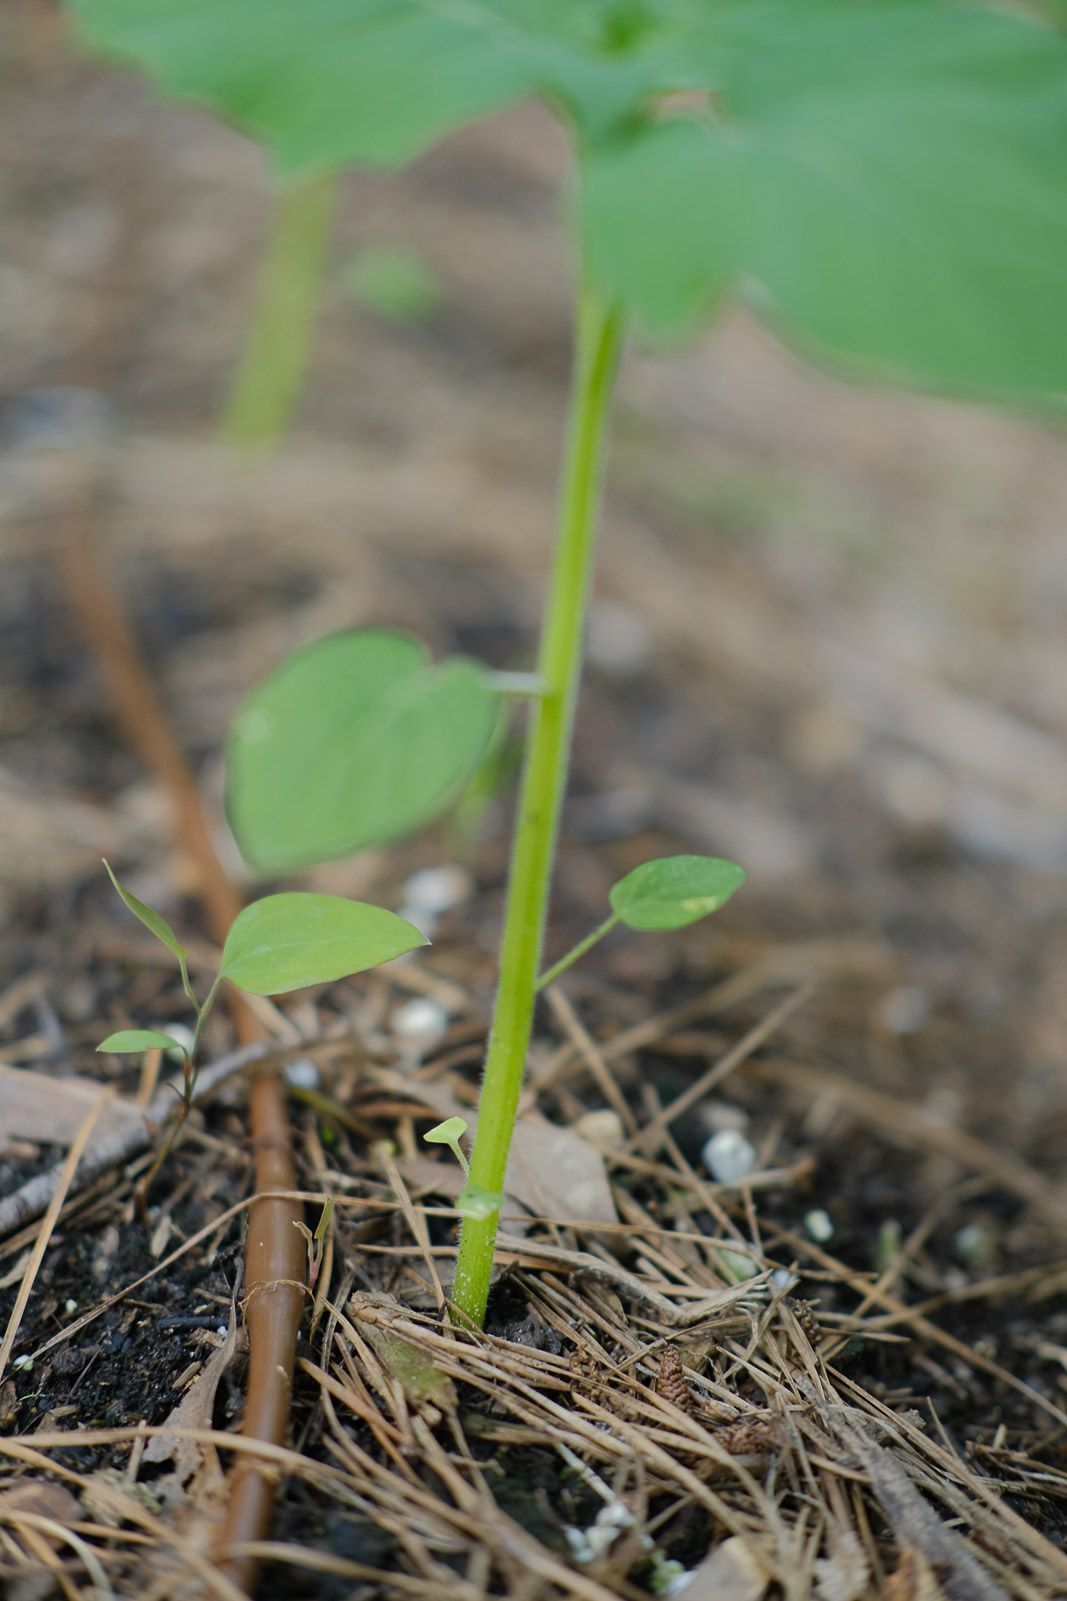
Next step for the 1/4″ tubing this will get the water to each plant using 1/4″ barbed coupling is how you will transition from 1/2″ to 1/4″. Using the irrigation punch tool is how you will punch a small hole into the 1/2″ tubing thereafter inserting the 1/4″ barbed coupling then installing the 1/4″ tubing.
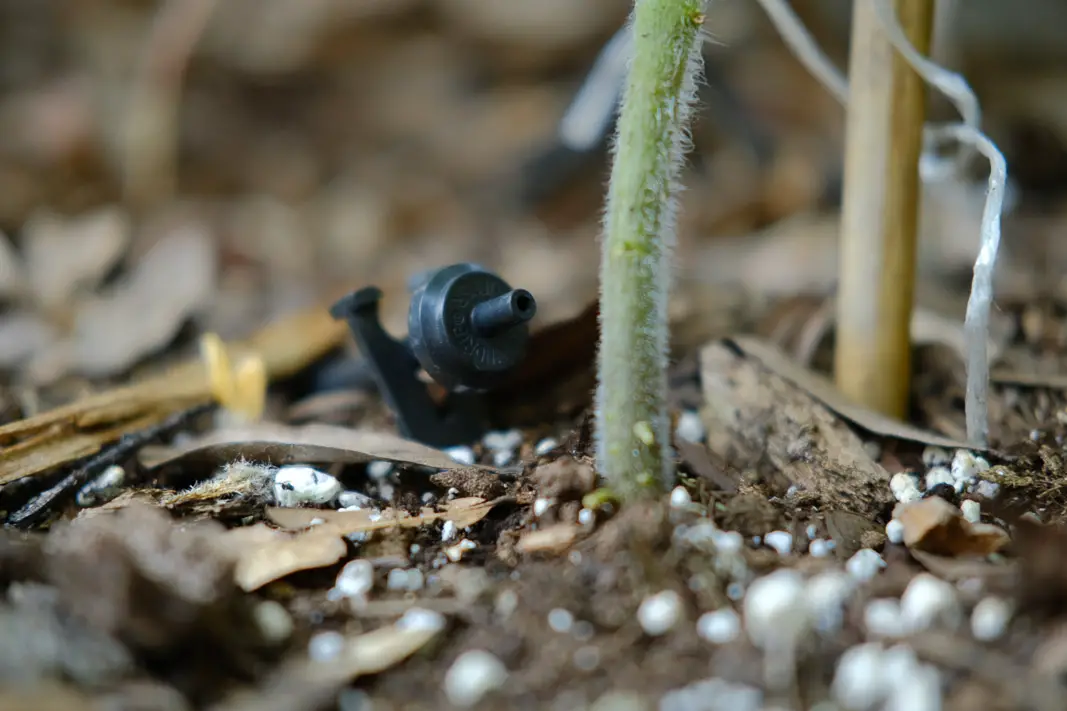
Lastly installing the emitter this can be of personal preference to what size emitter of how many gallons per minute. We also installed a shut off valve in our garden instead of depending only turn off the garden hose faucet this helps if this faucet also supplies other attachments another garden or perhaps an awesome outdoor sink….we simply adore our outdoor sink!
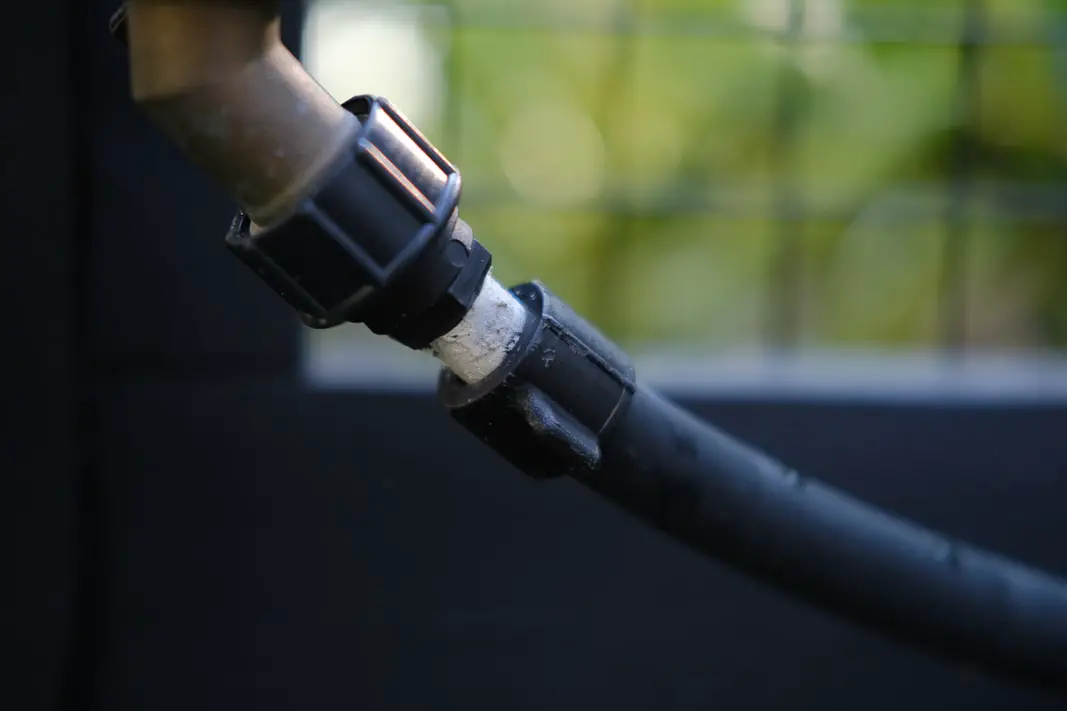
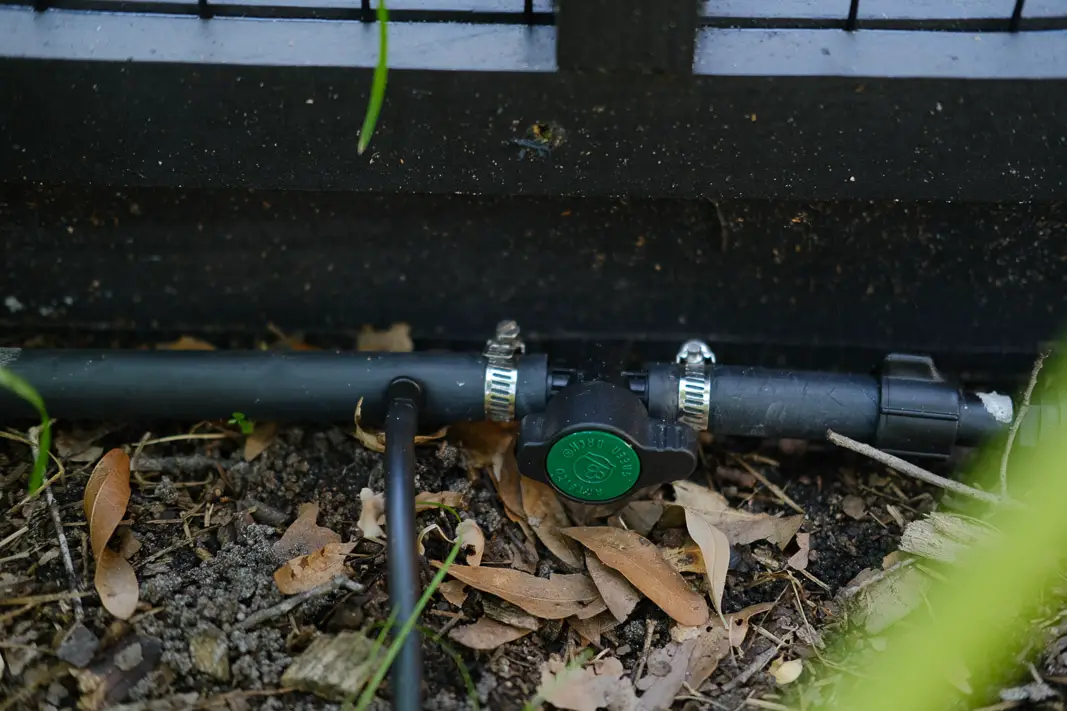
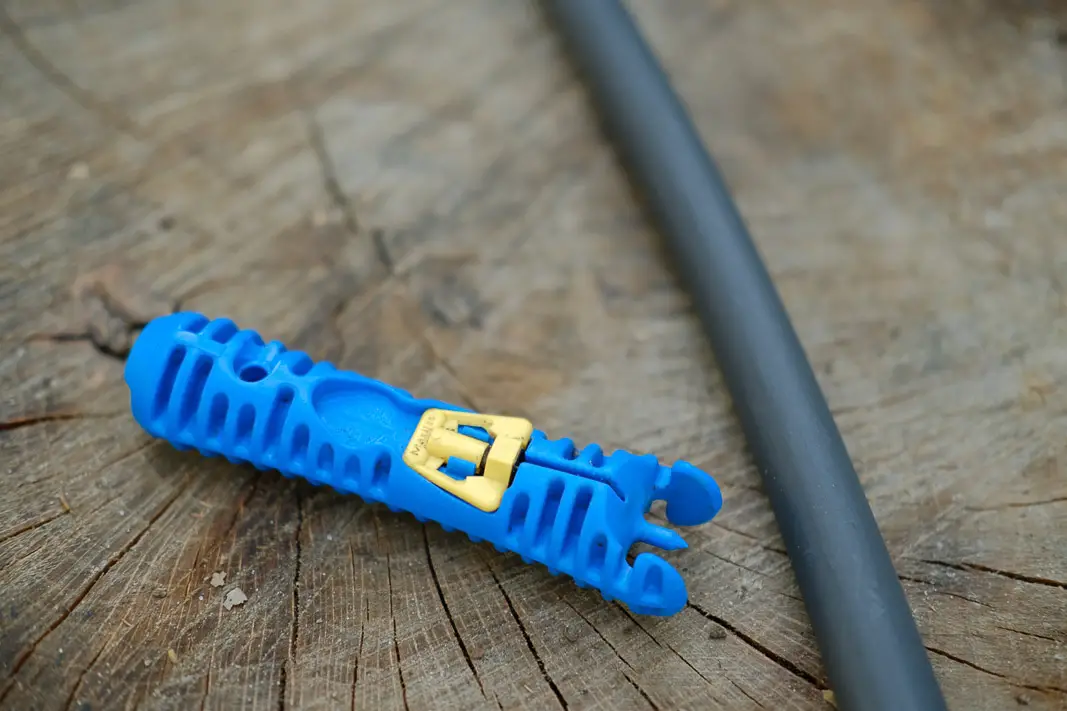
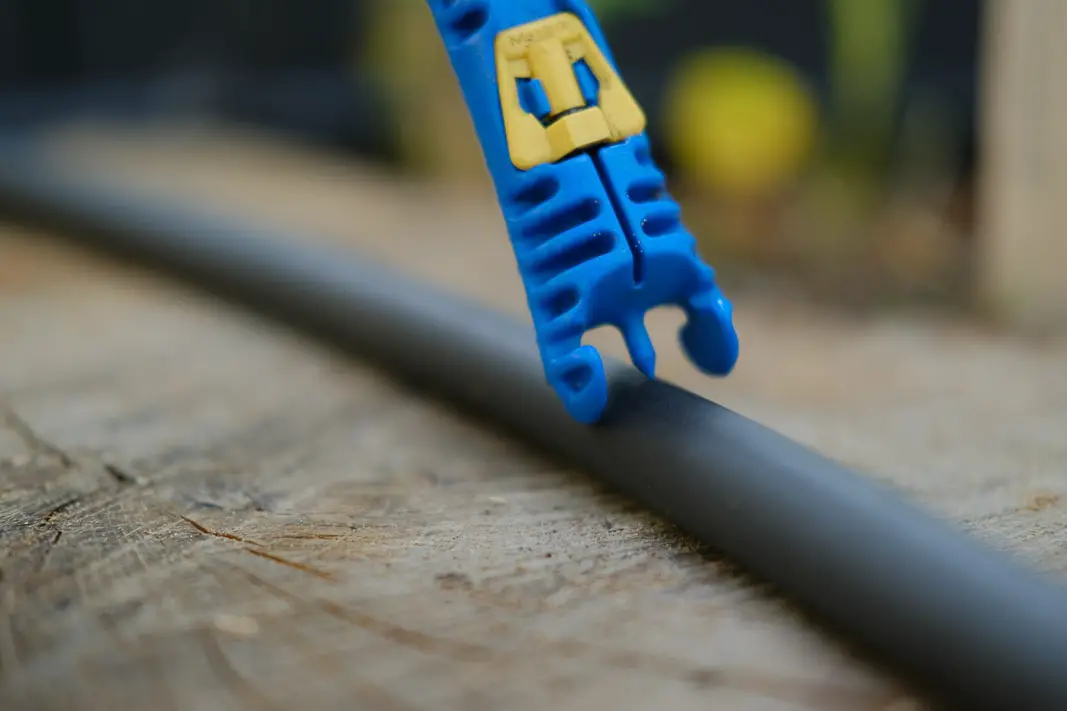
different plants need different fittings
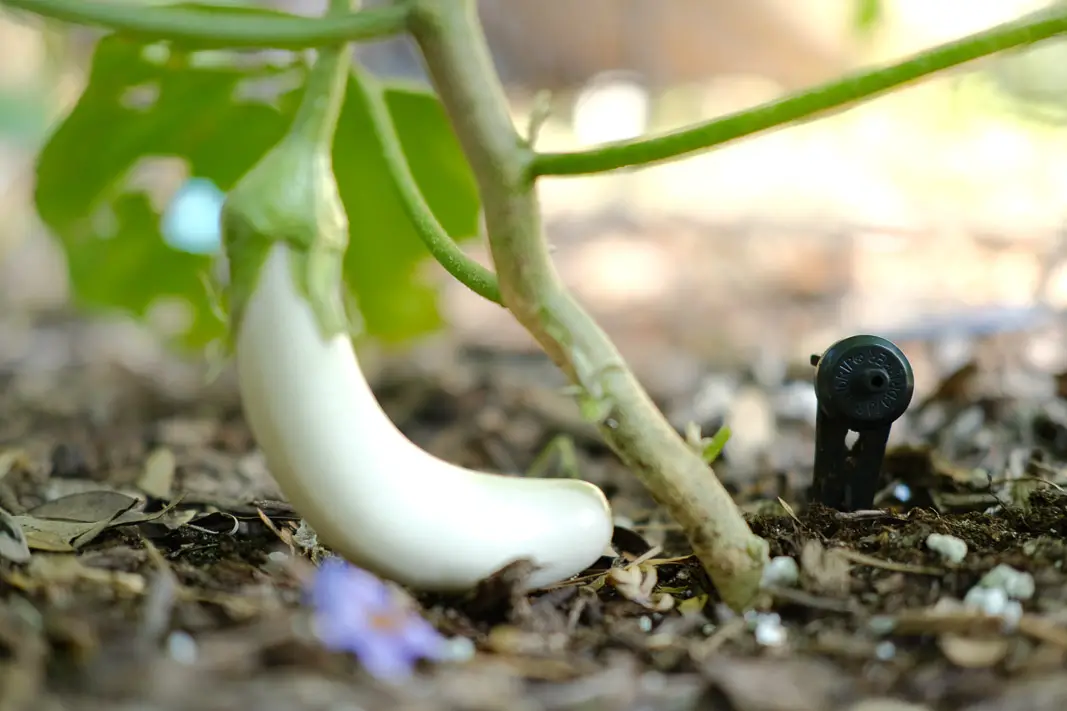
Some plants like tomatoes, squash, peppers are spaced far enough from each other that single emitters work best just using a small piece of 1/4″ tubing from the 1/2″ main tubing to each plant with an emitter on the end. Although plants that are planted closer together like beans, cucumbers, or kale this types of plants could benefit more from using 1/4″ tubing with 6″ emitter spacing and planting right along the tube.
Is there a way to make fertilizing easier?
There is one last (optional) step if you are tired of mixing fertilizer in a watering can, and watering each and every plant. In between you garden hose faucet and the drip irrigation you can attach Drip Connection Fertilizer Injector System. With this attached now you can easily put your fertilizer into the jug and inject the fertilizer directly into your new drip system so now each plant will get fertilizer while being watered. This frees up time to do other gardening chores while still using your normal fertilizing schedule.
Absolutely would be THESE Boots and THIS Garden Basket!
Thank you for enjoying my Blog!
I sure do appreciate it and would love to hear from you in the comments!
Peace, Love, and Simple Living Friends!
~Erin


Leave A Comment